

If you’re looking for steel roof installation, a metal roof is one of the most popular options in Brisbane. High-quality steel provides long-term durability, thermal advantages with proper insulation, and aesthetic value. This guide will walk you through the step-by-step process of metal roofing installation so that you can understand the metal roof installation process from preparation to post-work metal roof inspection. Whether you’re going the metal roof DIY route or utilising a metal roofing installation professional, this is your metal roof resource.
Key takeaways
Gather the necessary safety equipment before beginning work on metal roof installation.
Measure your roof precisely to determine how much roofing material you’ll need.
Make a reasonable budget to avoid any unexpected costs on a metal roof.
Remove the old metal roof material and inspect the roof decking for damage.
Metal roofing installation: the drip edge around the perimeter of your metal roof.
Place the metal roof panels in alignment with your metal roof edge.
Install the ridge cap and flashing to seal the roof correctly.
Make a final inspection of the metal roof and clean up the site.
Preparing for metal roofing installation
It’s critical to prepare the job site before beginning a metal roofing installation project. This helps you ensure that you have the correct materials and safety gear. It’s also important to consider any council approvals that are necessary for the job.
Safety first
Ensure you have access to essential personal protective equipment. Protecting your hands and feet is especially important. Here’s a list of basic equipment you should have:
Hard hat
Gloves
Protective eyewear
Non-skid, steel-toed footwear
Fitted clothing
First aid kit
Tie off the safety harness.
Work with another person close by. If any accidents occur that result in injuries, a second person can help apply first aid or call for assistance if necessary.

Site assessment
You need to understand the layout of your roof. Residential roofs can be quite complicated. Take measurements to get the exact square footage of your roof. This will tell you how much material you need. Measure each roof section from the ridge to the edge of the eaves so you know the length the roof sheets should be. Taking precise measurements will minimise your wastage and prevent headaches and delays.
Type of roof sheets
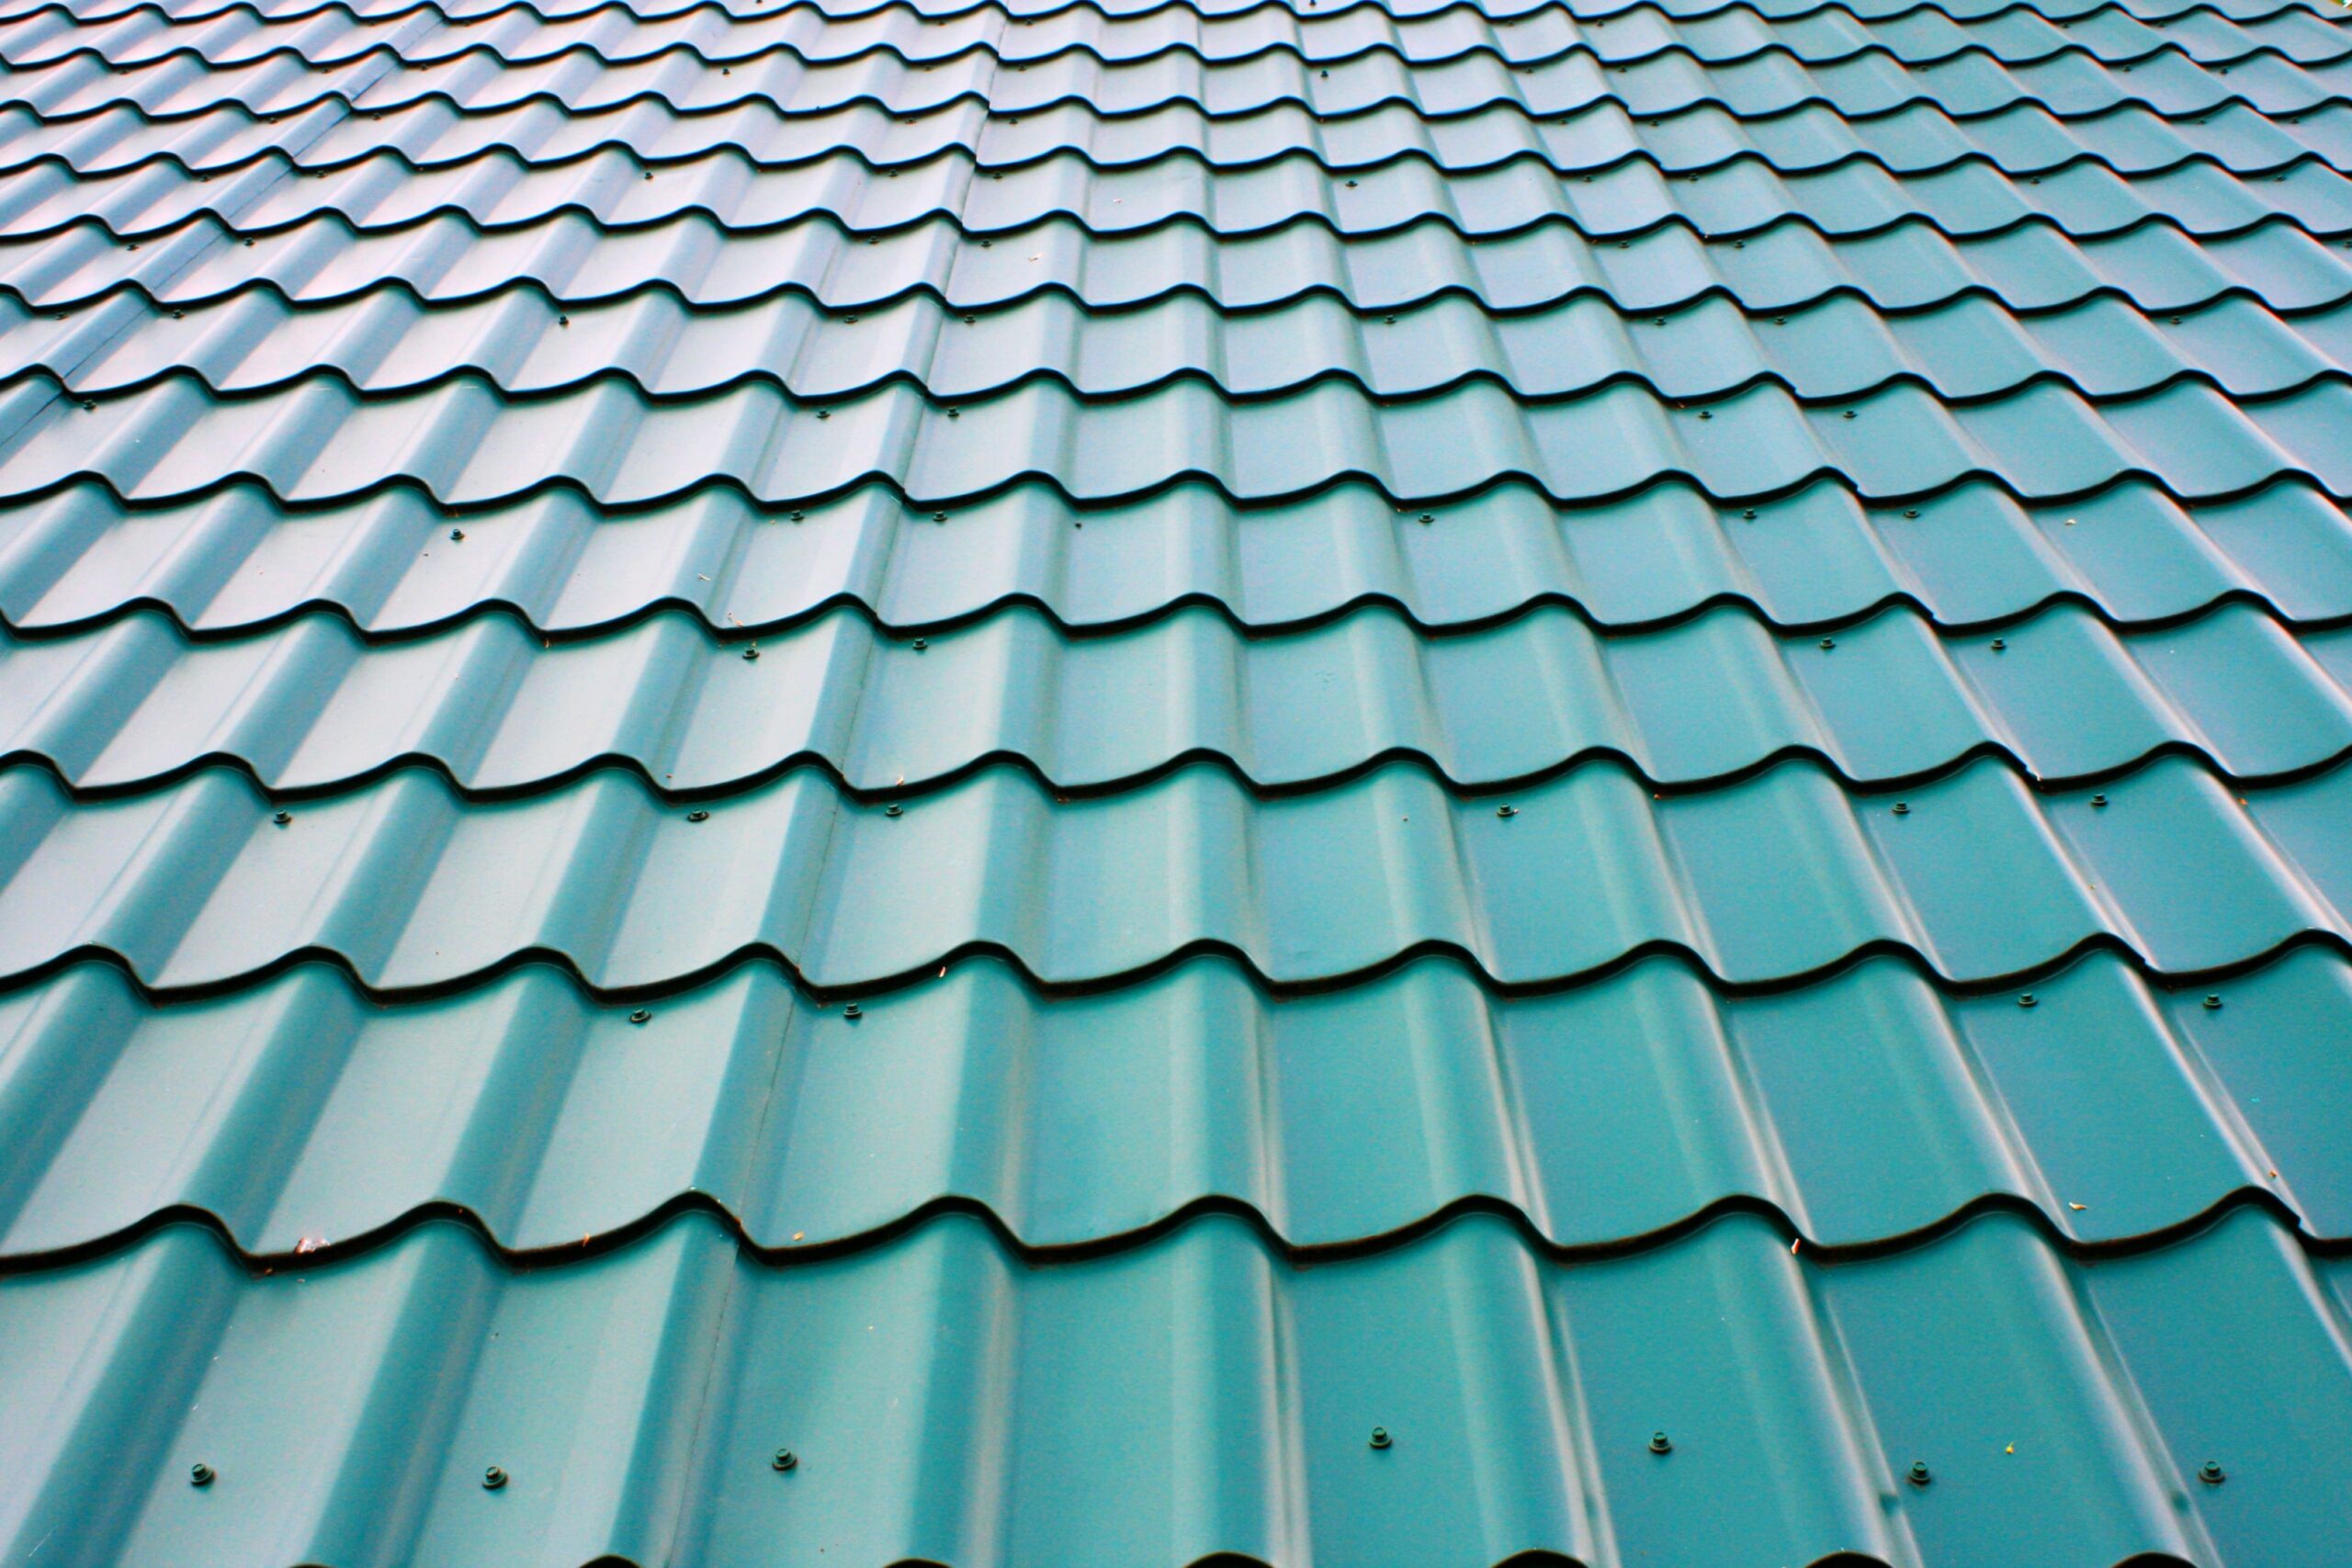
Consider what type of metal panels you’ll be using. Corrugated roofing tends to be cheaper but isn’t to everyone’s aesthetic taste. Standing seam is sleek and modern but also more expensive and more complicated for metal roofing installation. Infinite Roofing uses high-quality Colorbond steel, which is long-lasting, best at maintaining durability, corrosion-resistant, high-quality, and low-maintenance. It’s also useful for exterior walling applications and for metal roofing installation.
Check the slope of your roof. A corrugated roof requires a minimum roof pitch of five degrees. For standing seam, a minimum of three degrees is recommended. An appropriately sloped roof allows for proper drainage. If water isn’t draining well, the roof may degrade faster.
Roofing budget
Take the time at the beginning of the project to establish your budget. This will dictate the most suitable and low-maintenance roofing materials. It’s important to be realistic. Include all supplies, such as the panels, underlayment, and flashing. Will you be hiring tools, or do you have everything in storage? A well-thought-out budget can reduce hidden costs and ensure all aspects of the project are covered.
Infinite Roofing has over a decade of experience working with Brisbane residents. We have a wealth of knowledge and metal roofing tips for metal roofing installation to get you on the right track. From cost estimates to material recommendations, we can help you complete the roof of your dreams.
Roof preparation
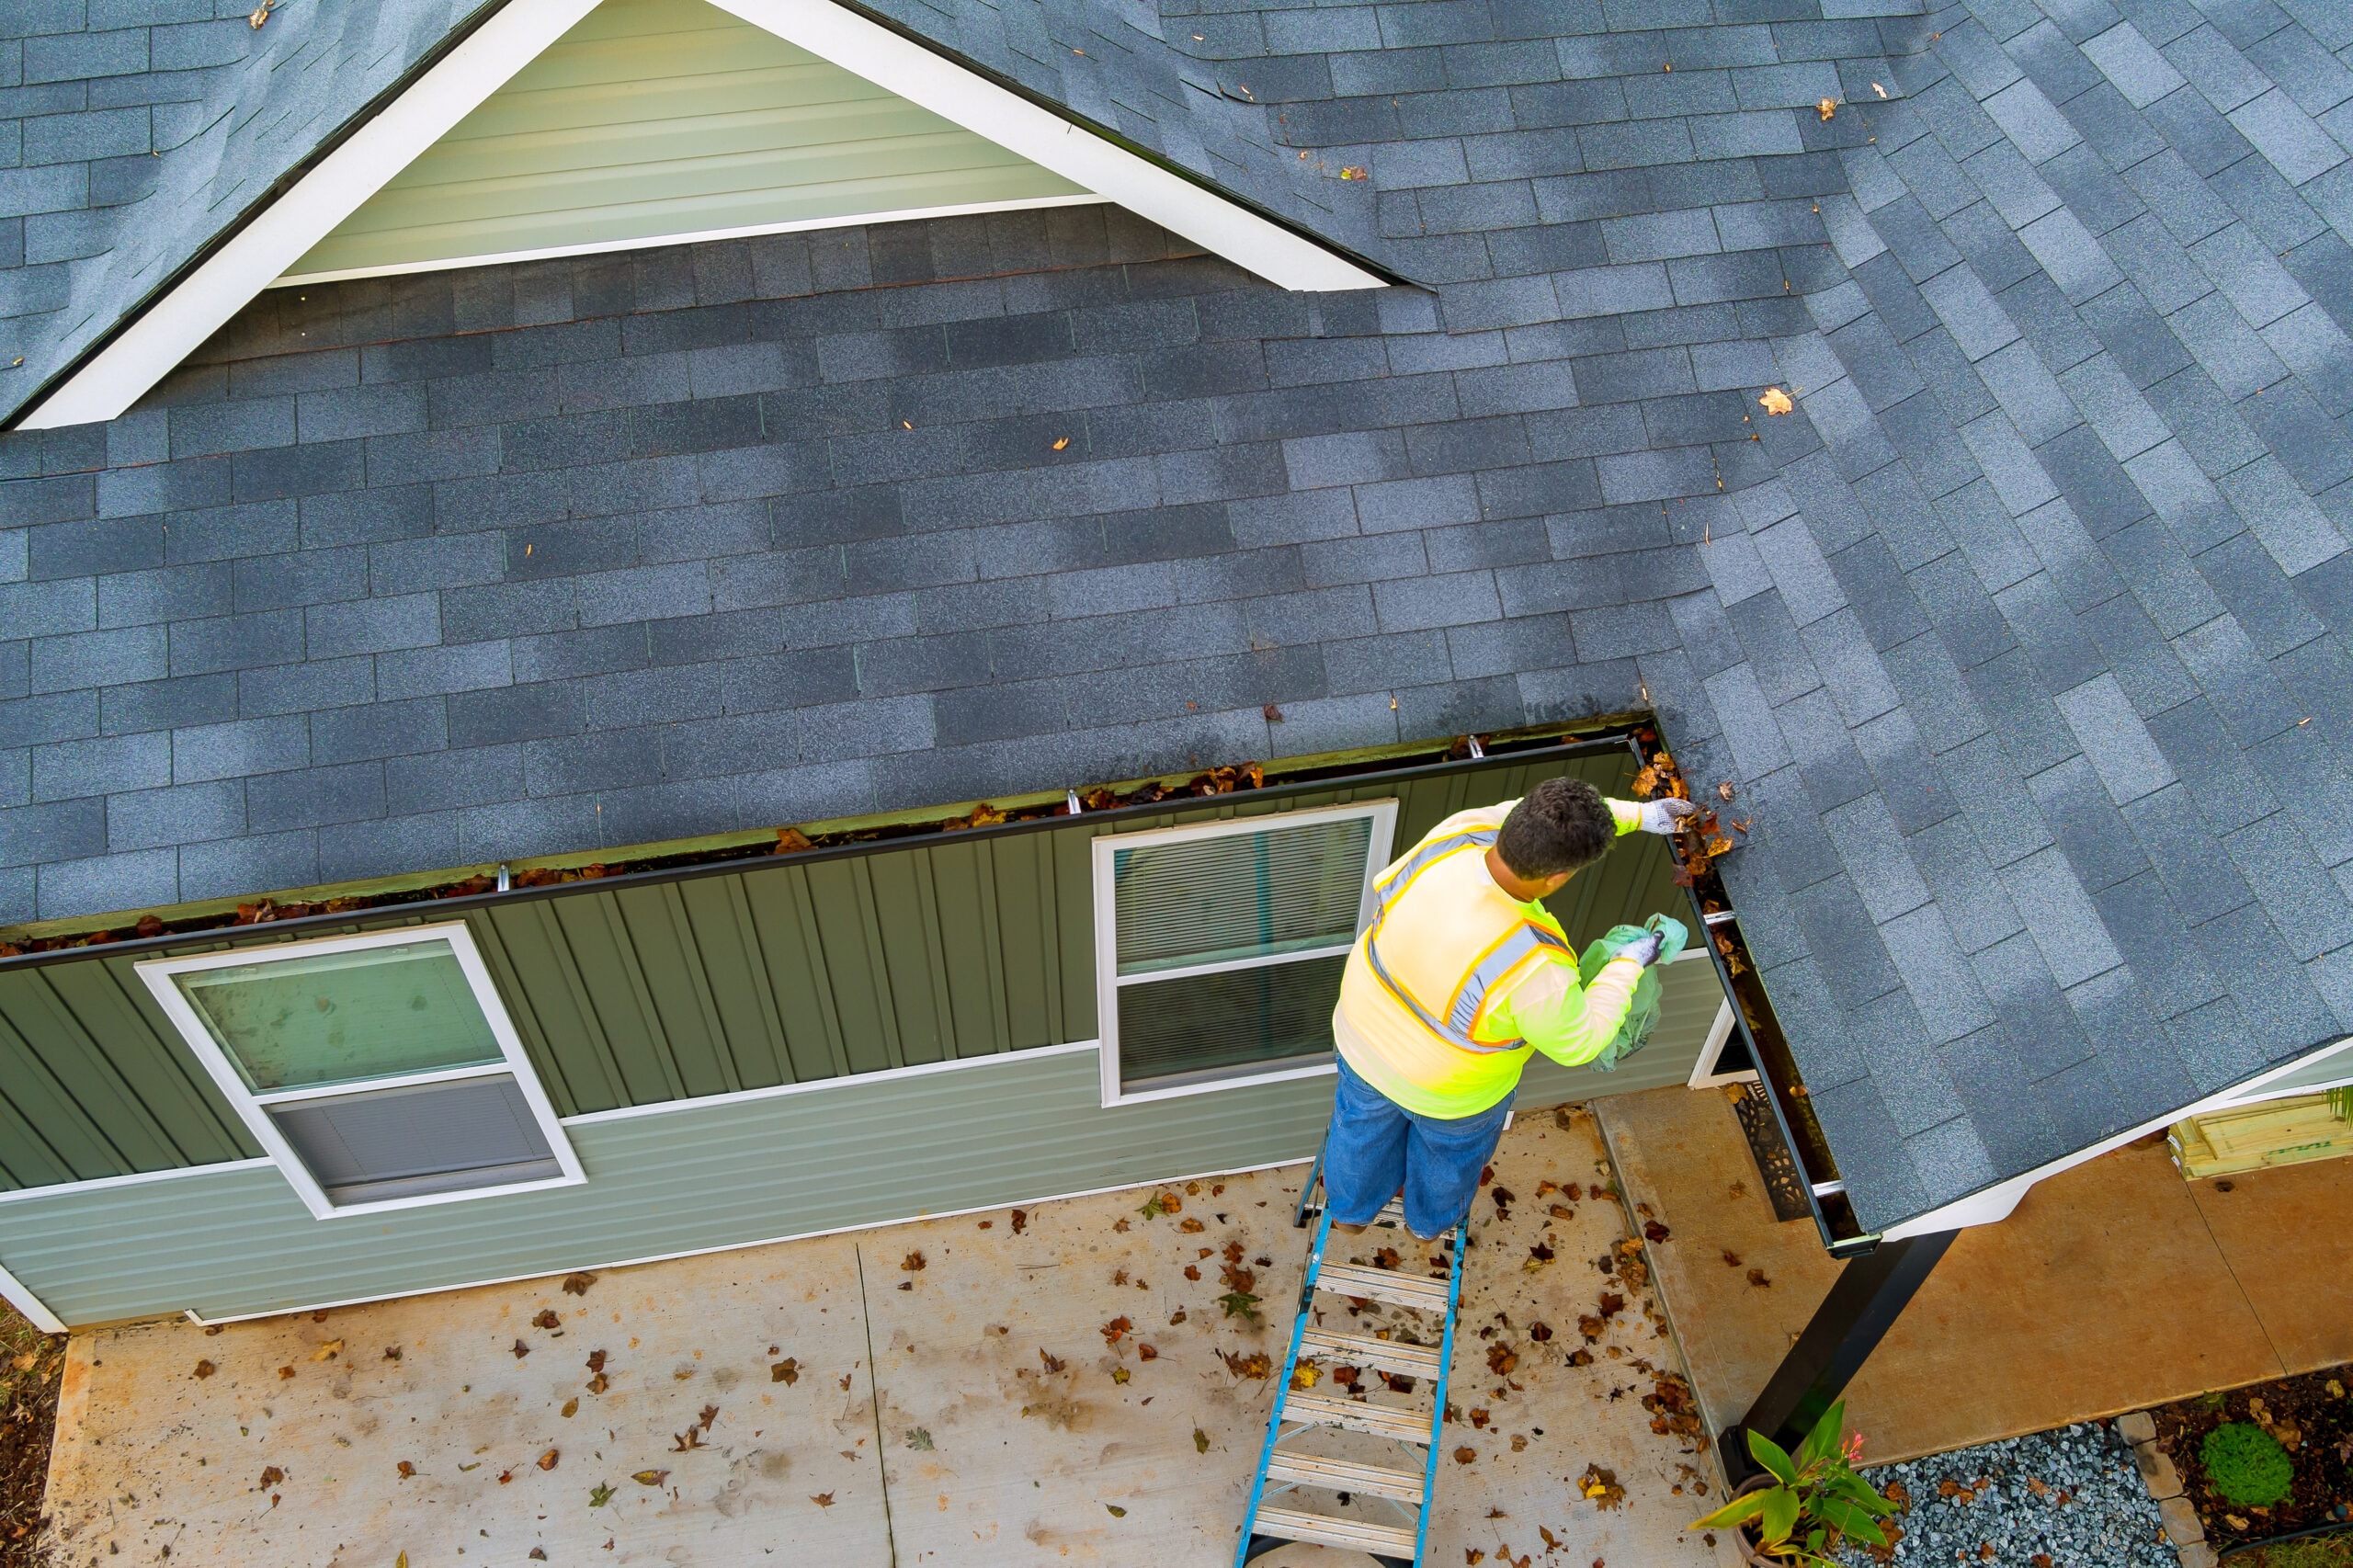
Before jumping into a steel roofing installation, you need a sound surface to work on. If you’re replacing an existing roof, remove the old roofing materials to expose the roof deck and install roofing. Ensure proper laying of underlayment before installing the steel sheets. Also, inspect and, if necessary, replace the gutters and ensure they are securely fastened. Many components can be recycled. For example, metal roofs, steel, asphalt shingles, and terracotta tiles are reusable and can be taken to a recycling centre.
Once you’ve gotten to the decking, make a thorough inspection. It’s crucial that this underlying structure is free from rot or other damage before installing any sheets. If you find any weaknesses, make the necessary repairs first. If you’re not sure about what you’re seeing, get a professional’s opinion.
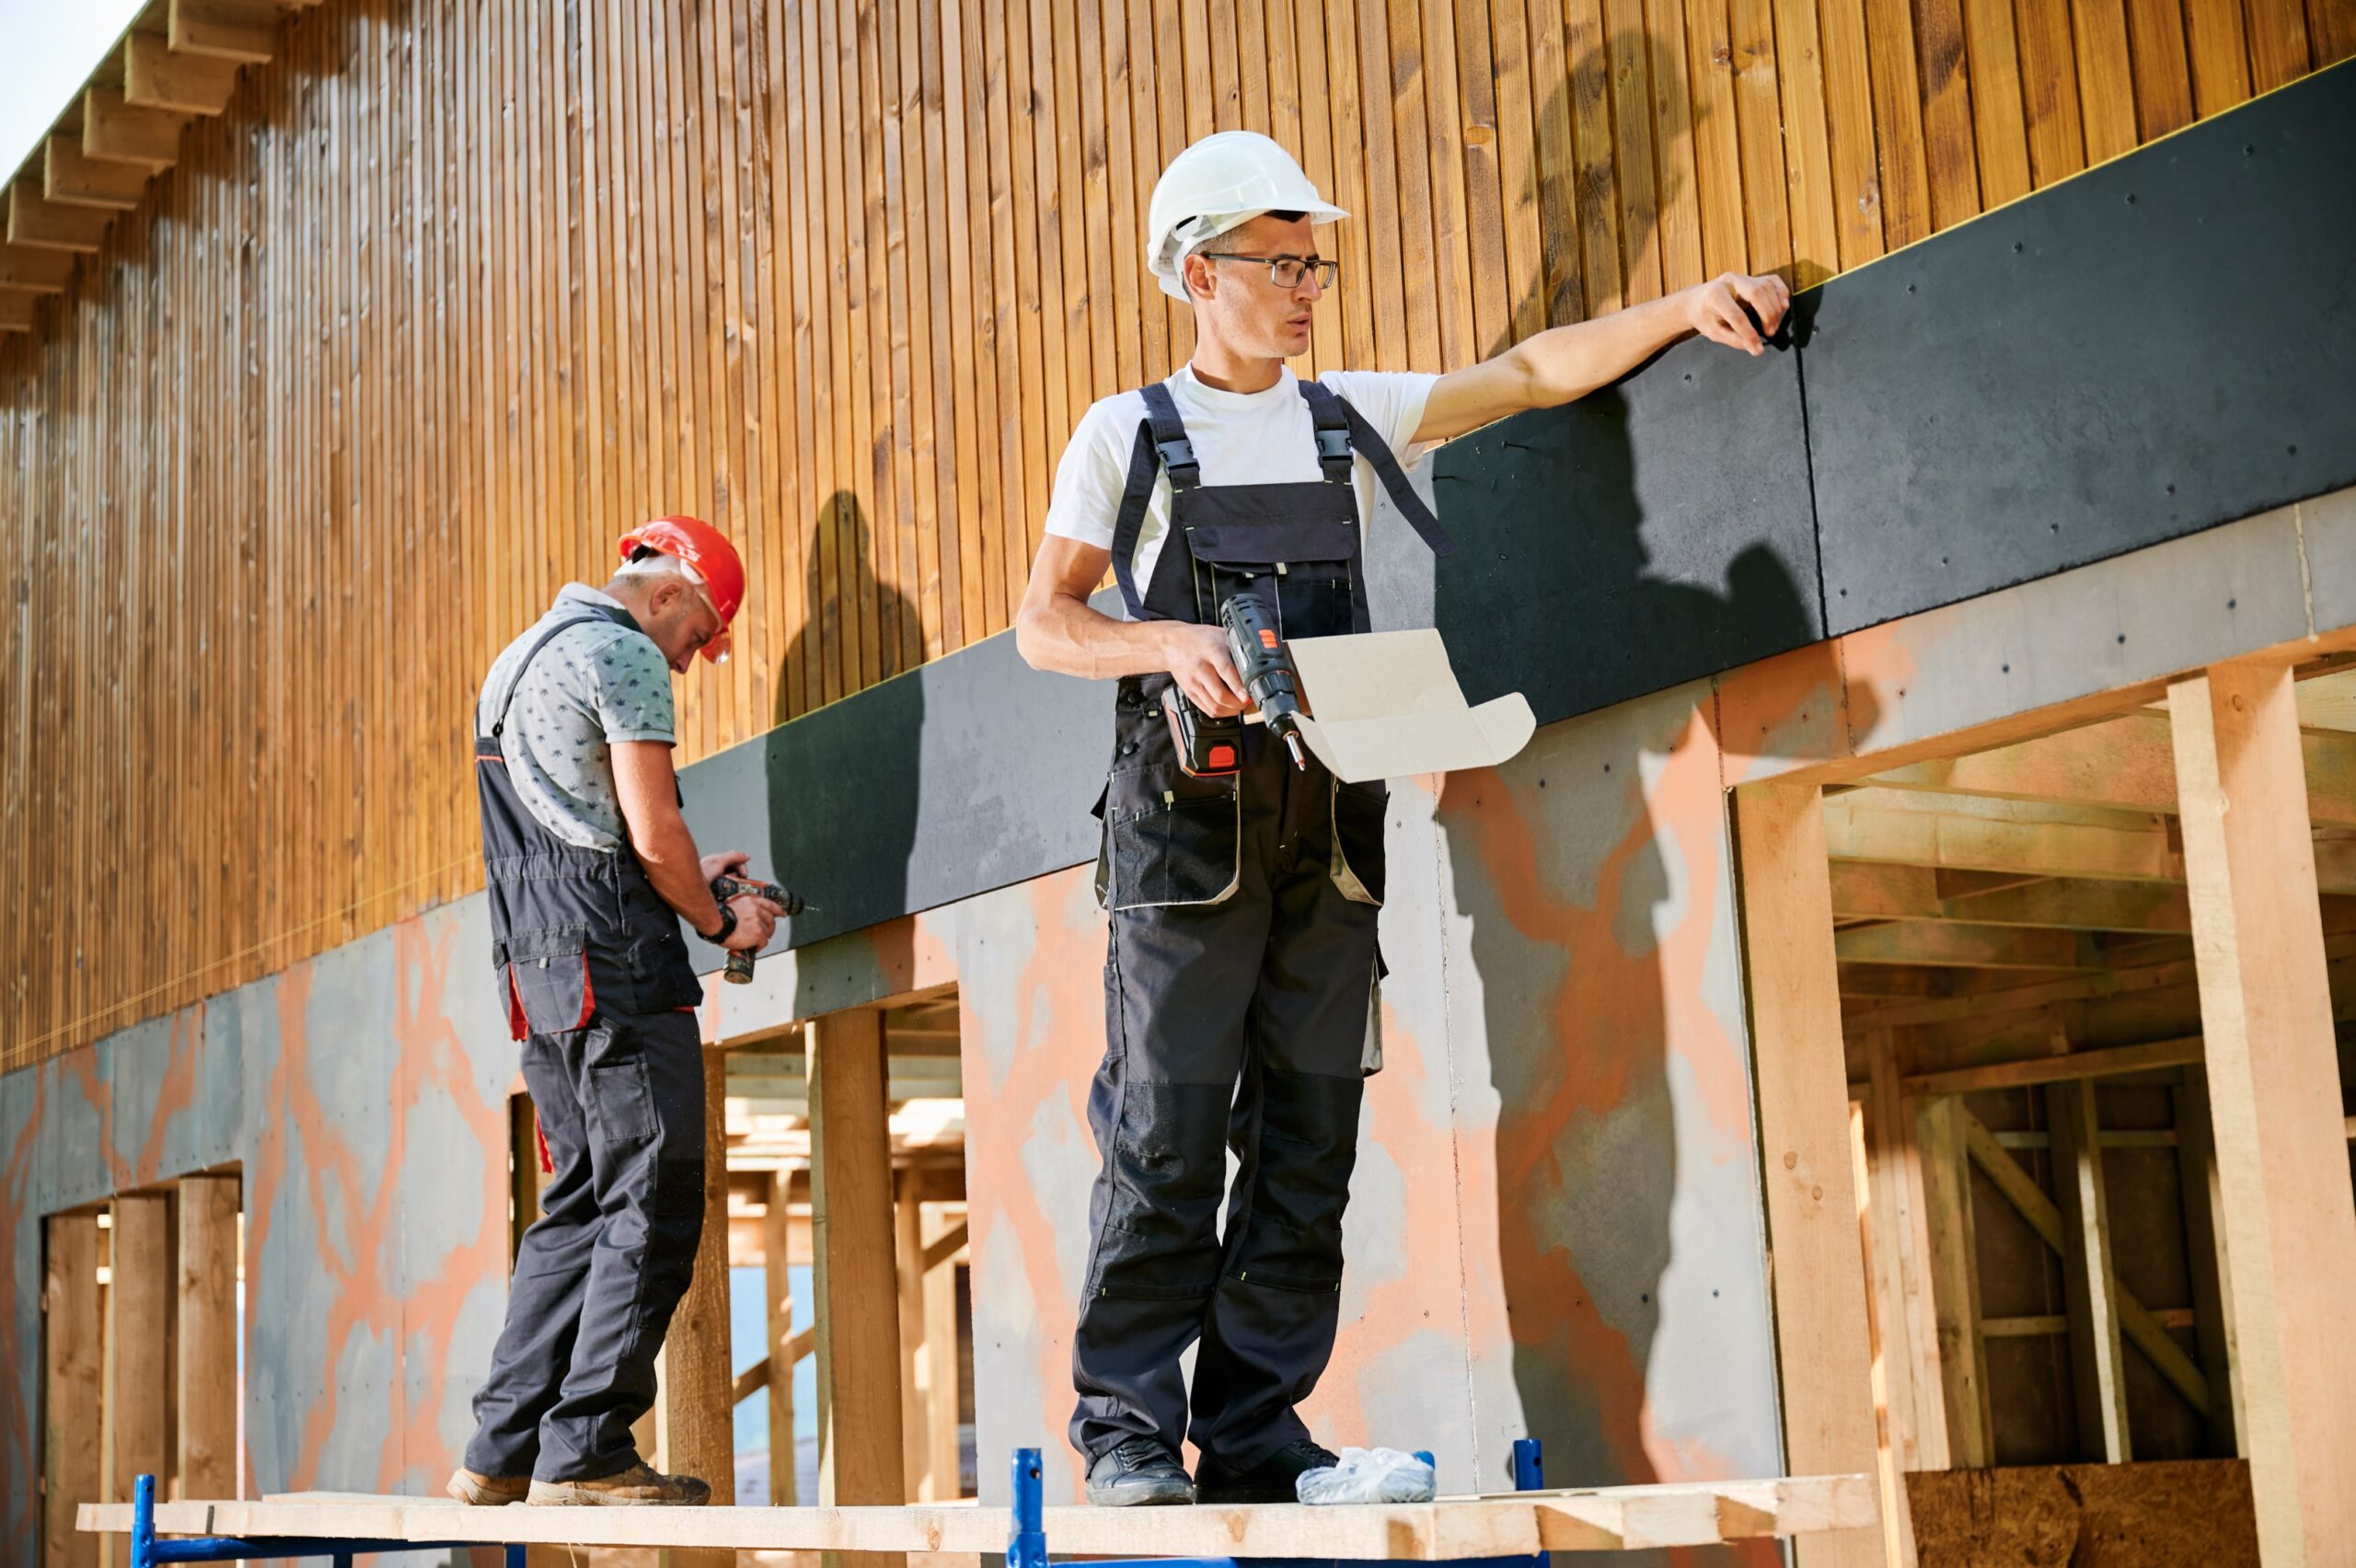
Once you’re sure that the decking is solid, put down the underlayment. There are multiple roofing layers. The underlayment is a protective covering that provides water-tightness on the underside of the roof, ensuring the building is protected. You have different options for an underlayment, such as felt, self-adhering membrane, and synthetic roof sheets. Ensure proper laying of the underlayment sheets, making sure they are securely fixed. You can often have these resources delivered directly to your site for convenience. This will prevent moisture from getting into your home.
Installing the drip edge
The drip edge is a type of flashing that runs around the roof’s perimeter. It directs water away from your house and into the gutters. This protects the edge of your roof. Measure the sections of drip edge carefully to ensure they fit the roof edges neatly. Allow an extra inch for proper joint overlaps. Start at the lowest point of the eaves. Keep about a quarter-inch gap between the drip edge and the fascia. Use fasteners like screws or roofing nails every four inches to attach it.
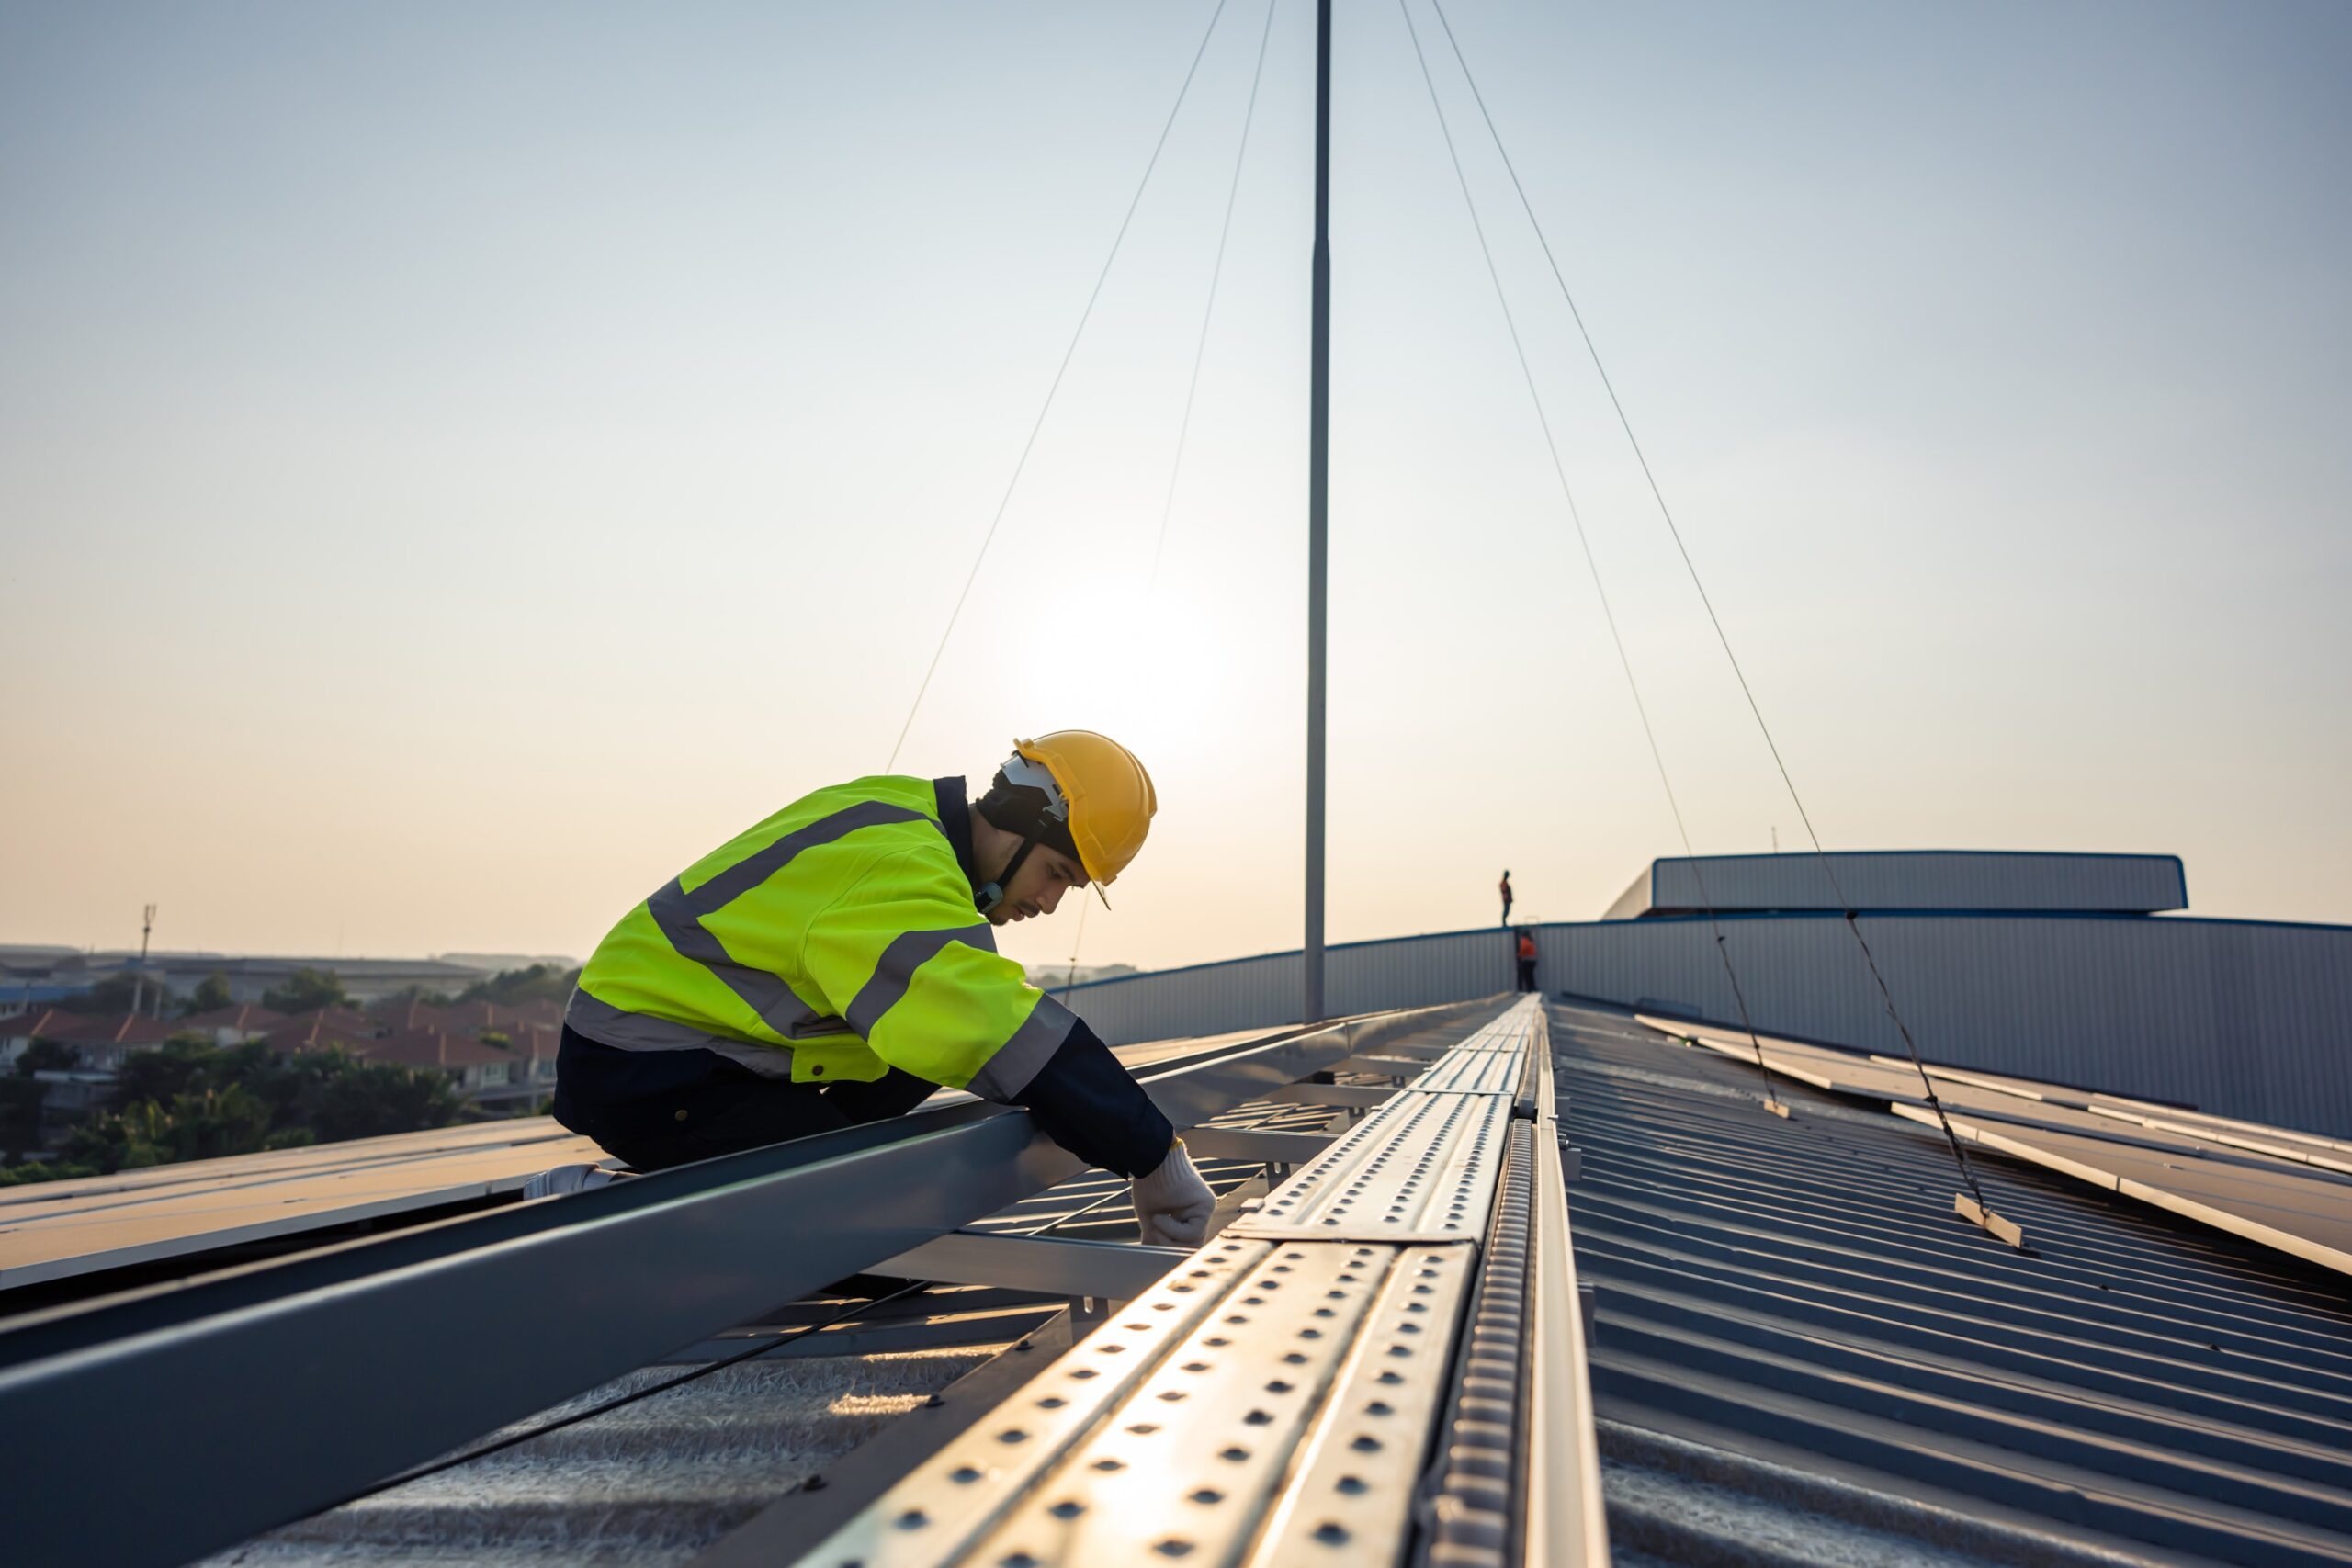
Steel roof installation
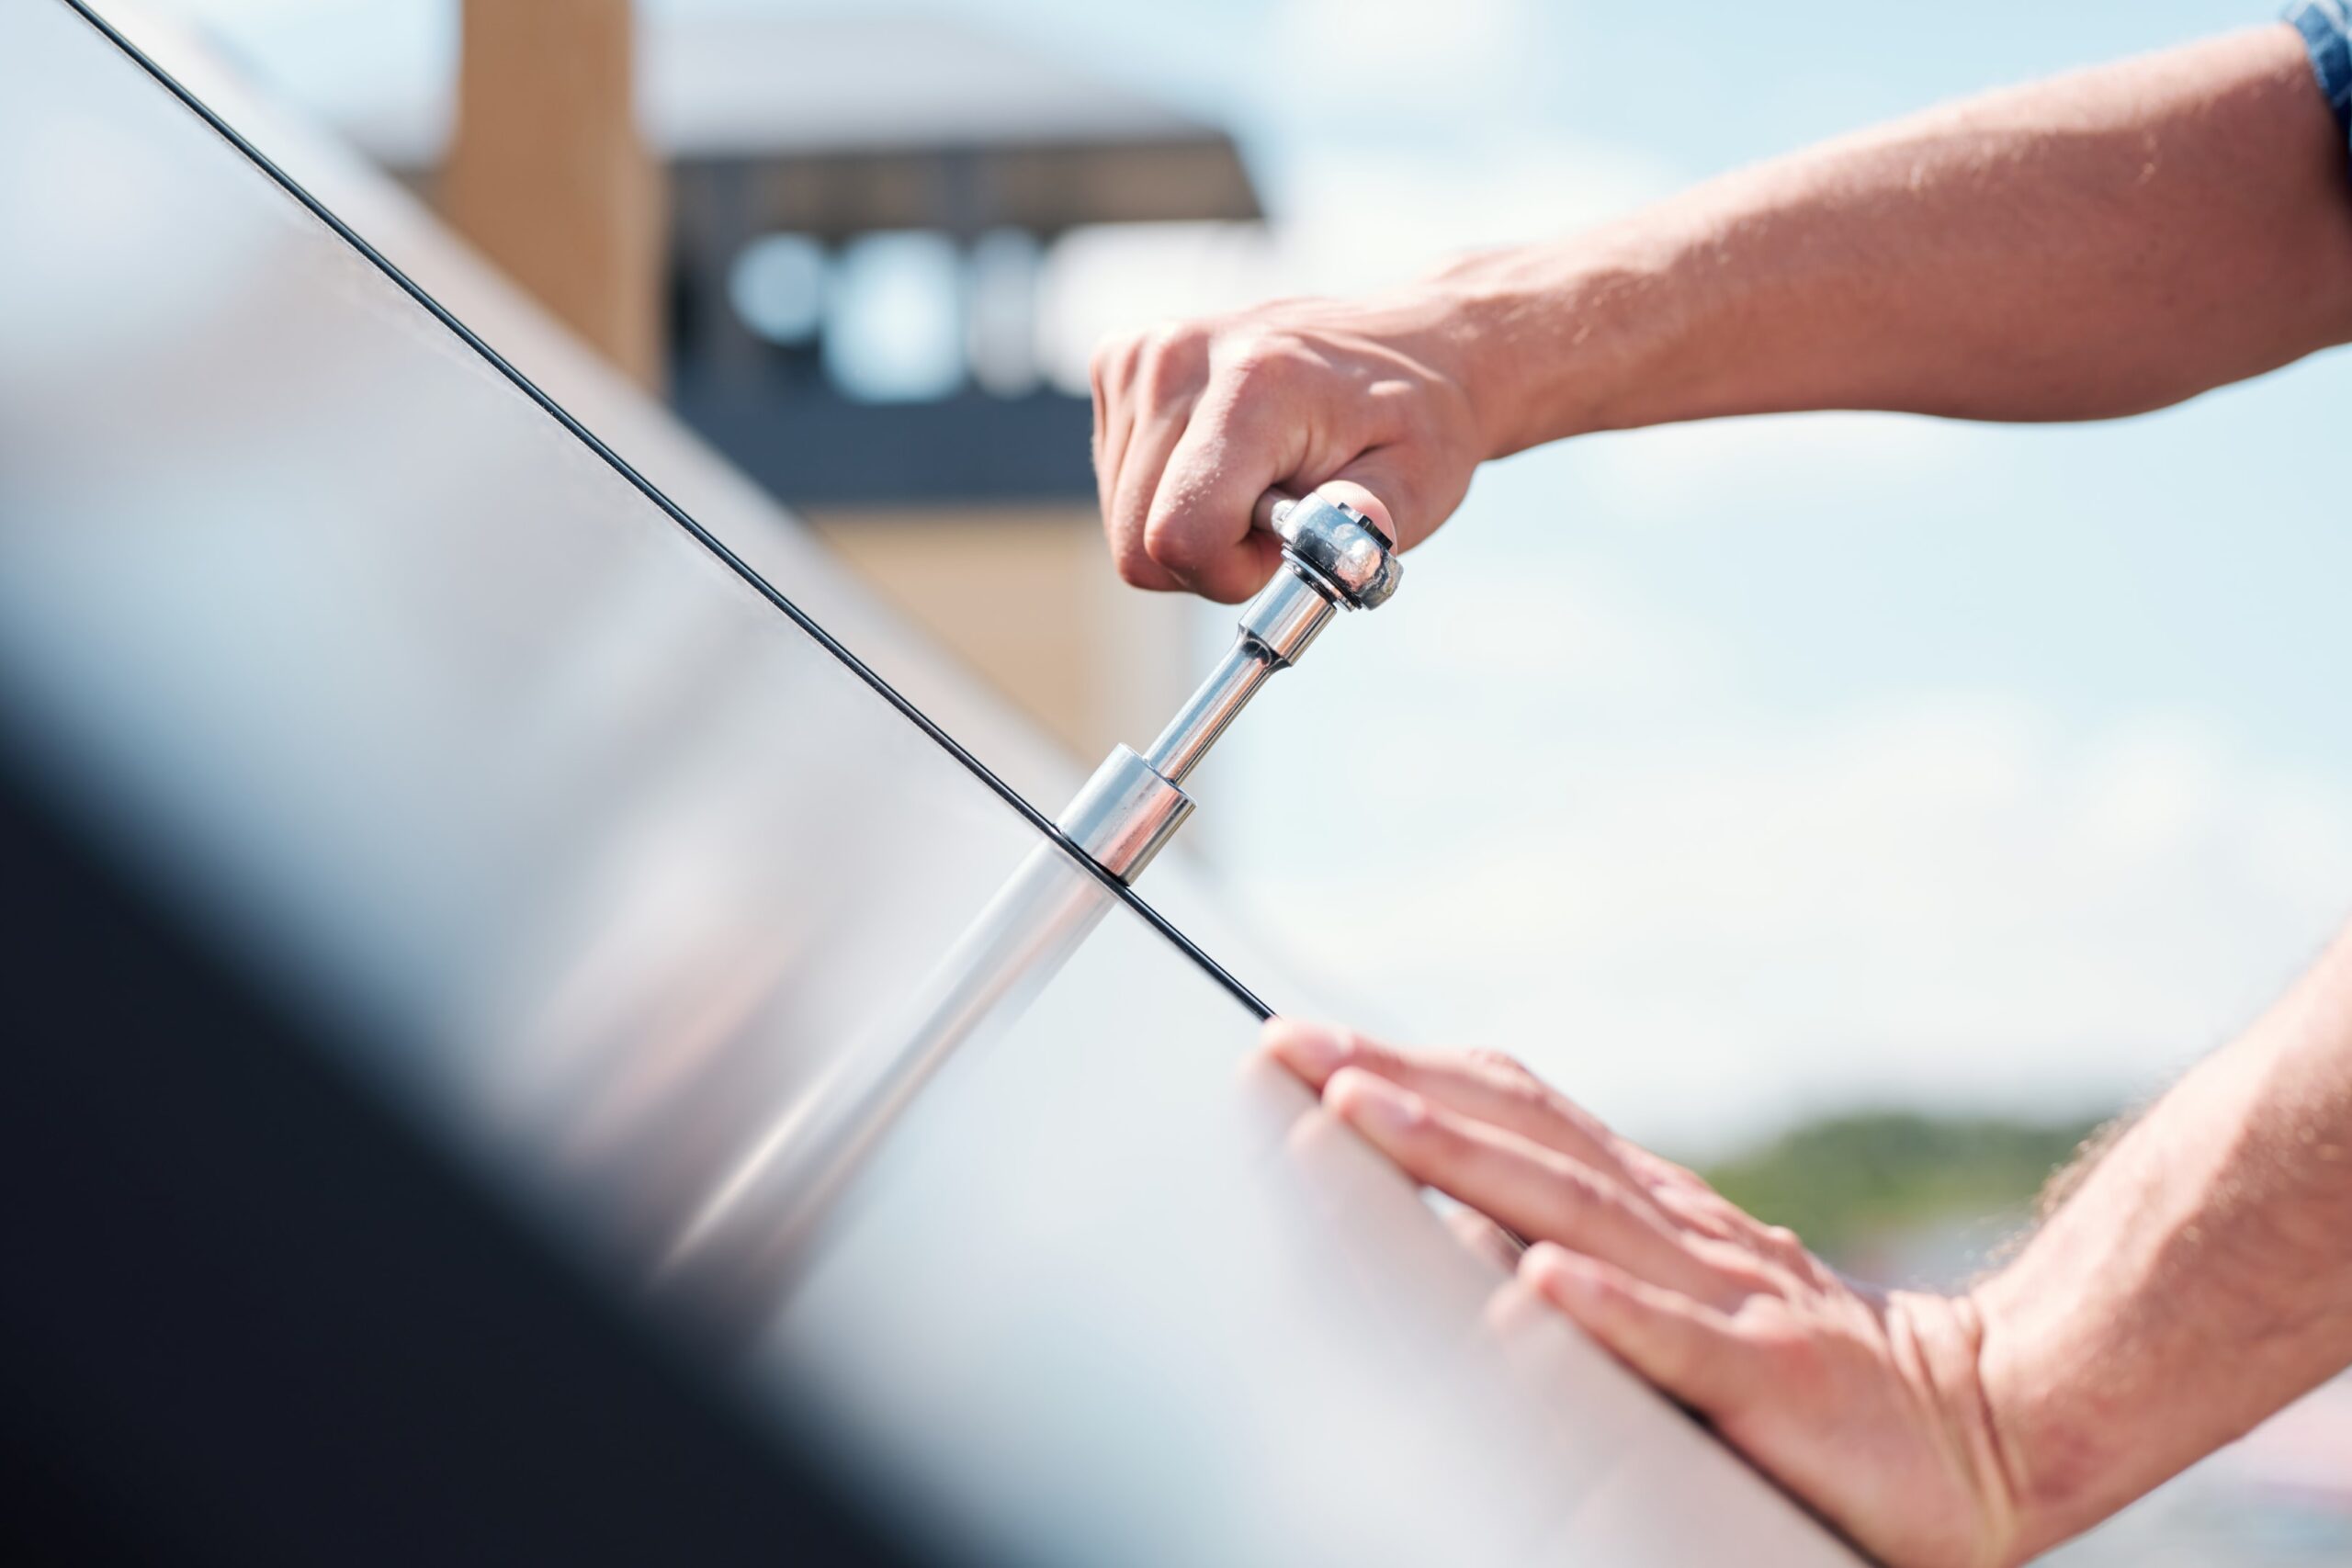
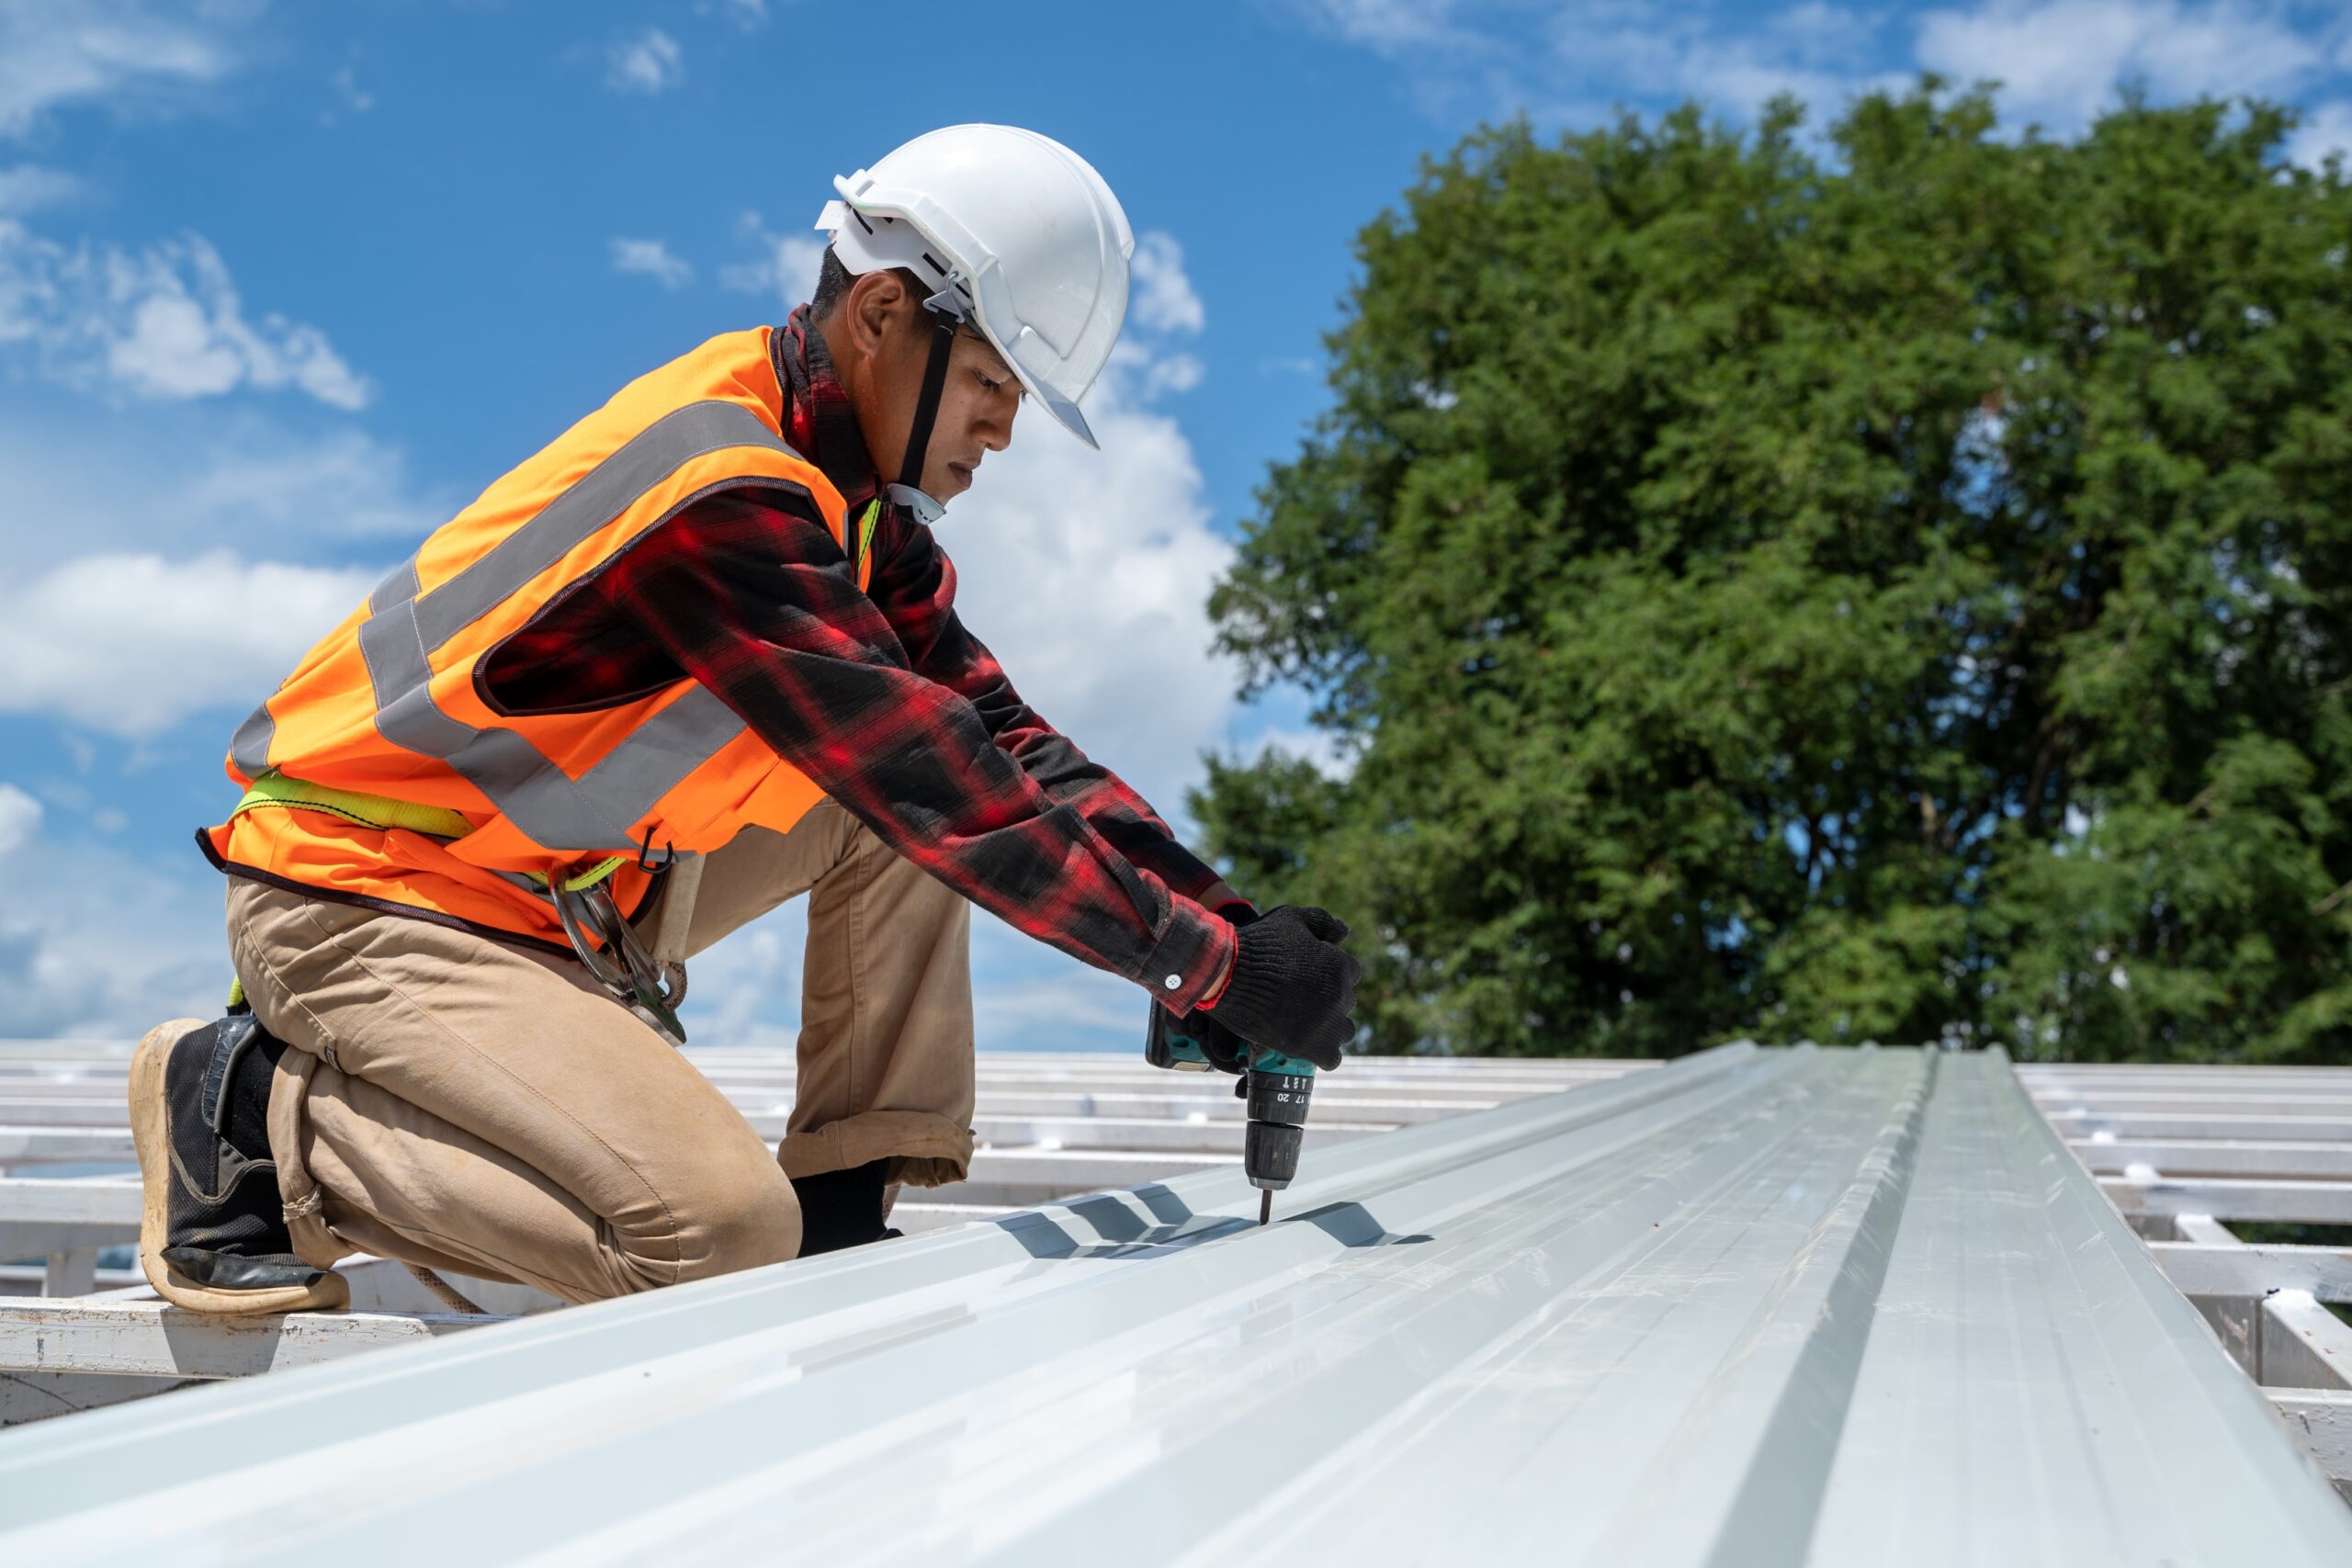
Now it’s time to build the panels. Think carefully about how you want the panels to be laid out, ensuring they are securely fixed. You want the side lap to face away from the prevailing wind. This makes the overlapping side less susceptible to wind damage during laying.
It’s important that the panels are aligned with each other and securely fixed. Mark the roof so you space the metal sheets consistently during laying. The material manufacturer may provide pre-drilled holes or alignment markings to guide you during installation. Use appropriate fasteners to secure the sheets. Cut the panels to size. You can use metal snips or a circular saw that has a metal-cutting blade. This’ll give you a nice clean edge. Recheck all of your measurements so that you don’t waste any material.
During installation, the first panel should be placed at the roof’s edge. The method of securing the sheets will depend on the type of sheets you’re using. With a through-fastened sheet, place screws at even intervals with a rubber washer. This creates a watertight seal to prevent leaks, ensuring the sheets are securely fixed.

Installing the ridge cap and flashing
Okay, here’s the revised paragraph incorporating valley fixing, side lap, installation, sheets, insulation, and contact, while maintaining the original paragraph’s focus:
Once all the panels (or sheets) are in place, the ridge cap can then be installed and fastened. This is a critical part of the roof, as it’s the most exposed to the weather and infiltrating water. Overlap ridge cap sections by six inches. Before screwing them down, apply a sealant to ensure the seams don’t allow water in. During installation, ensure proper side lap of the panels to prevent water infiltration. For valley fixing, follow the manufacturer’s guidelines to properly seal and flash these areas.
Consider installing insulation beneath the sheets for improved energy efficiency. Build flashing around features such as chimneys, vents, skylights, and any roof valley, fixing it in place with roofing nails to ensure they are securely fixed. Contact the manufacturer for specific guidance on creating a proper seal around these features and in valleys, especially where the sheets meet these structures.

Final inspection
It’s time to have one last look over your handiwork. Make sure the fasteners aren’t loose and overlaps are well-sealed, ensuring a weather-resistant building. Double-check the panel alignment and the fitting of all components, and get rid of any leftover debris. Be sure to watch your feet while walking on the roof. Ensure there’s no waste material left on the ground; deliver it to the appropriate disposal area. If there is, dispose of it appropriately.
What our clients say
I was extremely happy with the efficiency and responsiveness from Austin and the Infinite roofing team. They made our re-roof an extremely comfortable and worry free experience. It was cost effective compared to other quotes and the finish was immaculate. Thanks guys
-Haydn Meyers
You don’t need to face any of the difficulties of roofing alone. Our team acts quickly and efficiently to make the entire process, no matter the length of the building, as smooth as possible. We deliver expert roofing services and top-notch customer service without costing you a fortune.
Call your local roofing and wall cladding specialists
Working on your own roof can be incredibly rewarding. However, it can be difficult to know where to start, especially when handling roofing sheets. This guide will help you get started and work through the project step by step. With our expertise, you can get the roof you’ve always wanted in no time.
Contact us for assistance with your roofing and wall cladding needs.